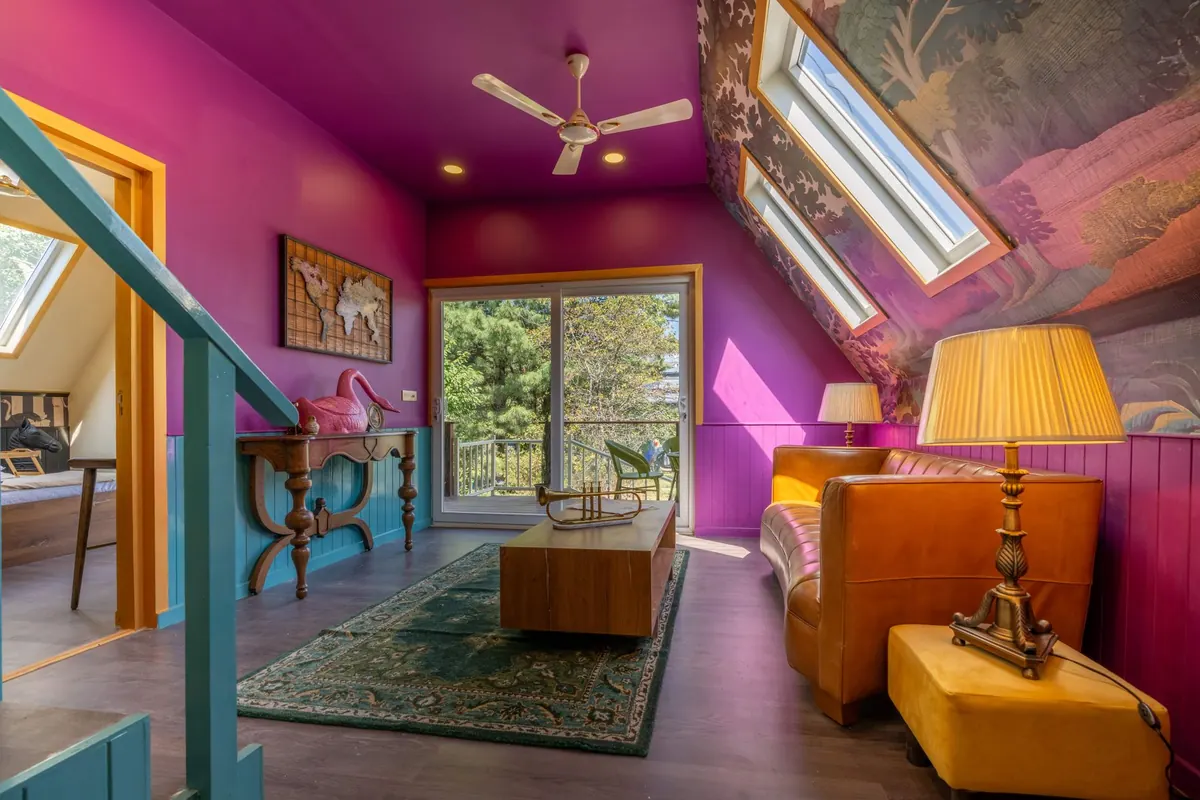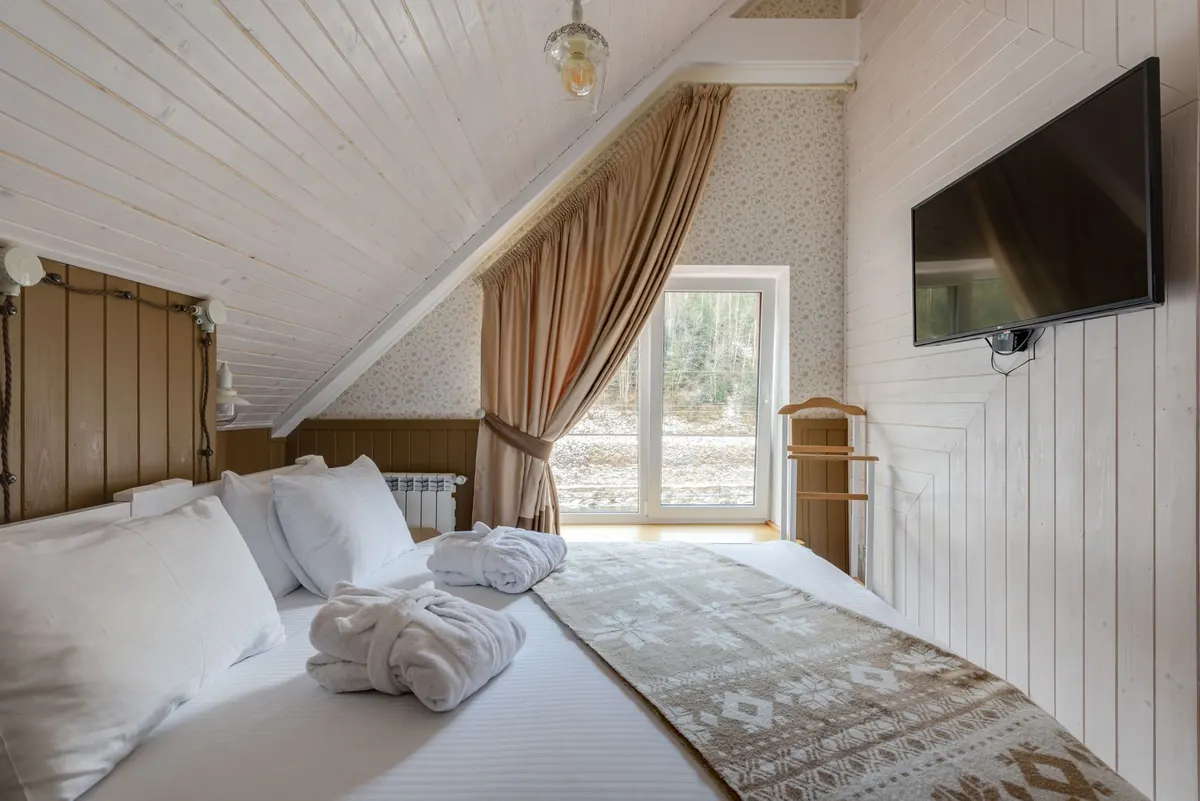
A finished attic can make a memorable guest room. It feels tucked away, a little secret, and often has more character than a spare bedroom downstairs. It also asks more of you. The ceiling slopes, the stairs arrive with little warning, and the corner that looks perfect for a bed may be the one where everyone bumps their head. The good news is that attics reward planning. Sort out three basics—bed placement, privacy, and storage—and the room starts to feel intentional rather than improvised.
Begin with measurements, not shopping
Before you buy a bed or a pretty basket, spend twenty minutes with a tape measure. Note the ceiling height at the highest point, along the edges, under each window, and at the top of the stairs. Mark the places where an adult has to duck. If the room has knee walls, measure the depth behind them; that space may become storage, but only if you can reach it without moving furniture every time.
Then make a simple floor plan on paper or with painter’s tape. Outline the bed, the bedside table, a luggage spot, and the path from the stair to the bed and to the door. Check window swings, radiators, outlets, light switches, and the door’s arc. A guest should not have to squeeze past the foot of the bed in the dark. If the attic has an access hatch, keep it clear; the same goes for smoke alarms and vents.
This is also the moment to notice what the room already does well. A wide dormer can hold a chair and a reading lamp. A low alcove can take a dresser. A awkward pipe box can become a shelf. Work with the architecture instead of pretending the slopes are not there.
Place the bed where the roof helps, not fights
The most comfortable attic bed usually sits with its headboard against the tallest solid wall. That gives guests a place to sit up, read, and reach a lamp without scraping their knuckles on the ceiling. If the only practical wall is lower, choose a low-profile bed frame and test the sitting height before you commit. A bed that looks charming in a photo can be miserable if the pillow end is under a slope.
Use the low zones for low furniture
Under-eave space is better suited to a bench, a low dresser, a basket stack, or a luggage rack than to a bed. A dormer can make a lovely bed nook, but watch the window, radiator, and curtain clearance. Do not put the bed directly at the top of the stairs; even a small landing needs a clear, calm arrival. For a single guest, a daybed along a wall can free up floor space. For a couple, aim for access on both sides if the room allows it, even if one side is narrower.
Mark the bed footprint with tape and live with it for a day. Open the door, pull out a suitcase, and walk to the window. If the layout only works when the bed is empty, it does not work.
Build privacy in layers
Attic privacy is both visual and acoustic. Start with the door at the top of the stairs. A solid door that closes properly, with a working latch and a draft excluder, does more than a decorative screen. If the stair is open, a curtain across the opening can soften the arrival, but it will not replace a door for sound or changing clothes.
For windows, combine a blackout blind with a curtain or use frosted film on the lower half if the room is overlooked. Guests appreciate being able to control light without rearranging the room. Add a robe hook, a small bench, and a folding screen if there is no separate dressing area. A night light near the stair is a small kindness; so is a clear route to the bathroom, with a towel and a robe within reach.
Sound matters too. A rug, upholstered bench, and soft window treatments take the edge off an empty attic. Keep the bed away from a shared wall with a noisy room if you can, and place a bookcase or wardrobe against that wall as a buffer. If guests share the main bathroom, tell them where to find extra towels and leave a small tray with water glasses. Privacy is often less about shutting people out and more about giving guests the information they need to settle in.
Give luggage a home, then add storage around it
Guests arrive with a suitcase, not just a toothbrush. If there is no obvious place to put it, the suitcase ends up on the bed or in the middle of the floor. Plan a luggage zone first: a bench at the foot of the bed, a folding rack in a corner, or a low chest that doubles as seating. Then build the rest of the storage around that spot.
- Luggage zone: a bench, rack, or clear patch of floor where a case can sit open without blocking the door.
- Hanging zone: a short rod in a tall corner, a slim wardrobe, or wall hooks for coats and bags.
- Surface zone: a bedside table or dresser top with room for a phone, glasses, book, and glass of water.
- Under-bed zone: shallow boxes or drawers for extra bedding, kept light enough to pull out easily.
Knee-wall cupboards are useful, but do not block eaves ventilation. Choose handles that will not catch bedding, and leave one empty drawer and a few hangers for guests. A basket for shoes and a hook for a wet towel keep clutter from spreading. The goal is not maximum storage; it is obvious storage. A guest should be able to unpack without asking where anything goes.
Control light, air, and temperature
Attics can run hot in summer and cool in winter, so comfort needs a little attention. Use layered lighting: a ceiling fixture for general light, bedside lamps for reading, and a low night light for the stair. Warm bulbs are gentler than a single bright overhead light in a room with sloped ceilings.
Keep vents and radiators clear. A bed pushed against a radiator may trap heat and make the room uncomfortable. Blackout blinds help with early summer mornings, while a small fan and an extra blanket give guests options. If the attic is heated only by a portable heater, check that the outlet and circuit can handle it, and ask a qualified electrician if anything feels uncertain. Open windows for fresh air, but check that they are safe to leave open and that curtains do not trail over lamps or heaters.
Finish with the details guests notice
A guest room works when it answers small questions without asking. Where do I put my phone? Is there an outlet near the bed? Where can I sit to put on shoes? Add a chair or bench, a mirror, a rug, and a bedside surface. A power strip or an accessible outlet near the bed is more useful than another decorative cushion. Leave floor space for a suitcase and a clear path to the door.
Keep the bedding simple and layer it: a washable duvet cover, a spare blanket, and two pillows per guest. A small tray for keys, a book, and a phone keeps the bedside table from becoming a junk pile. Do not fill every corner. A little breathing room makes a sloped attic feel generous.
A practical setup plan
Start by measuring the room and taping the bed footprint on the floor. Test the door, window, and stair path before moving furniture. Place the bed against the tallest wall, then add privacy at the door and windows. Create a luggage spot and one empty drawer or hanger space. Check the lighting from the bed, the stair, and the door. Finally, spend one night in the room yourself. You will notice the draft, the hard-to-reach lamp, or the suitcase that has nowhere to go—and you can fix it before your guests arrive.
Photo: Max Vakhtbovych / Pexels