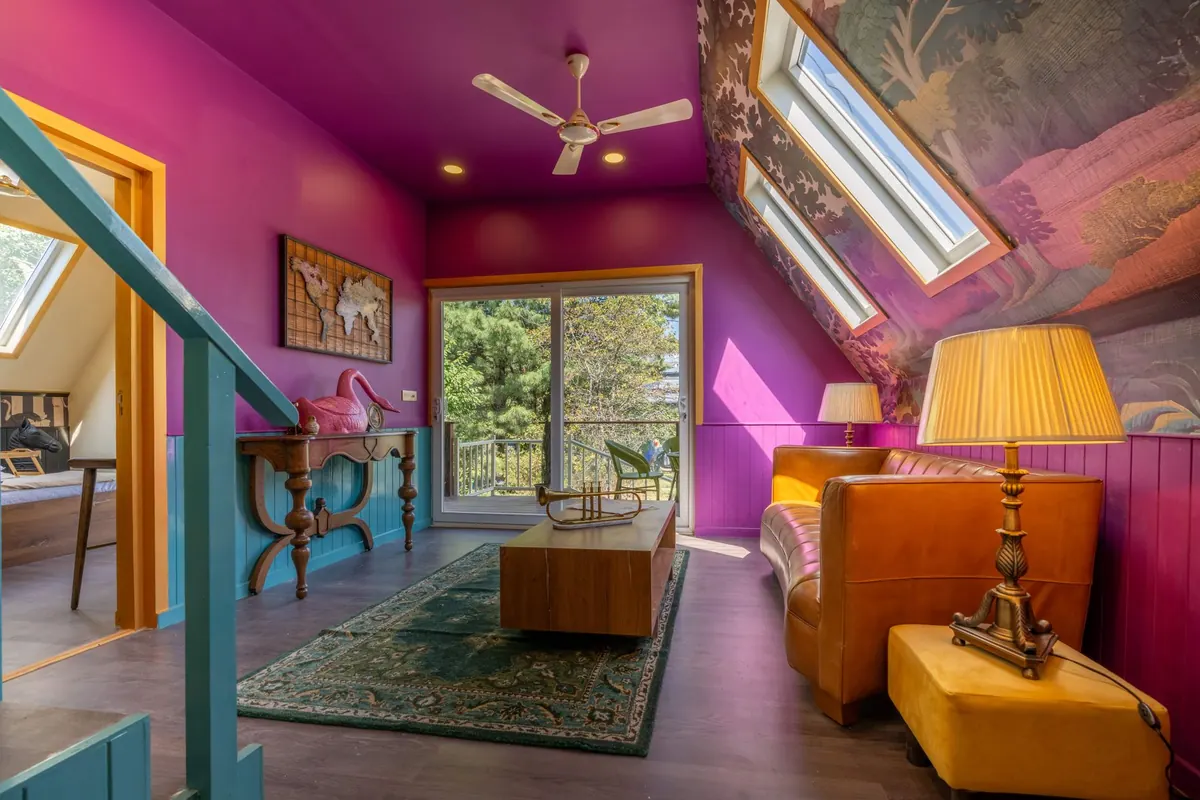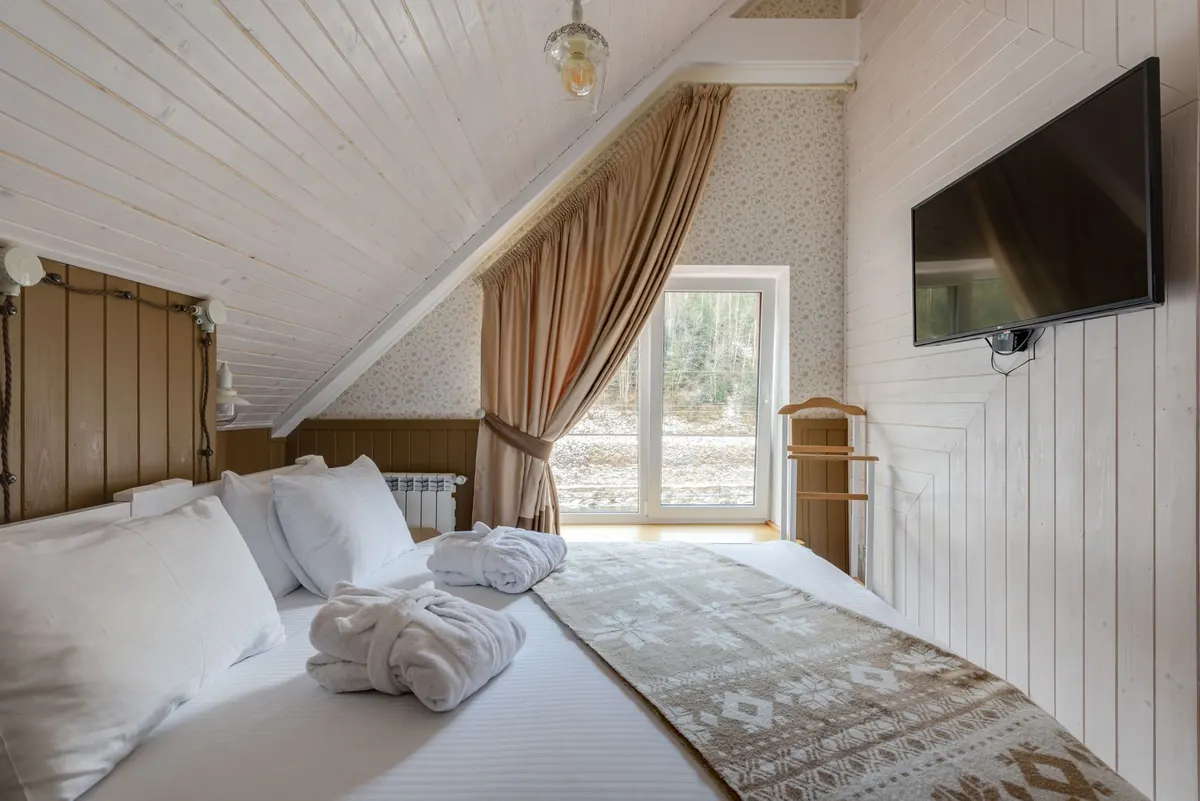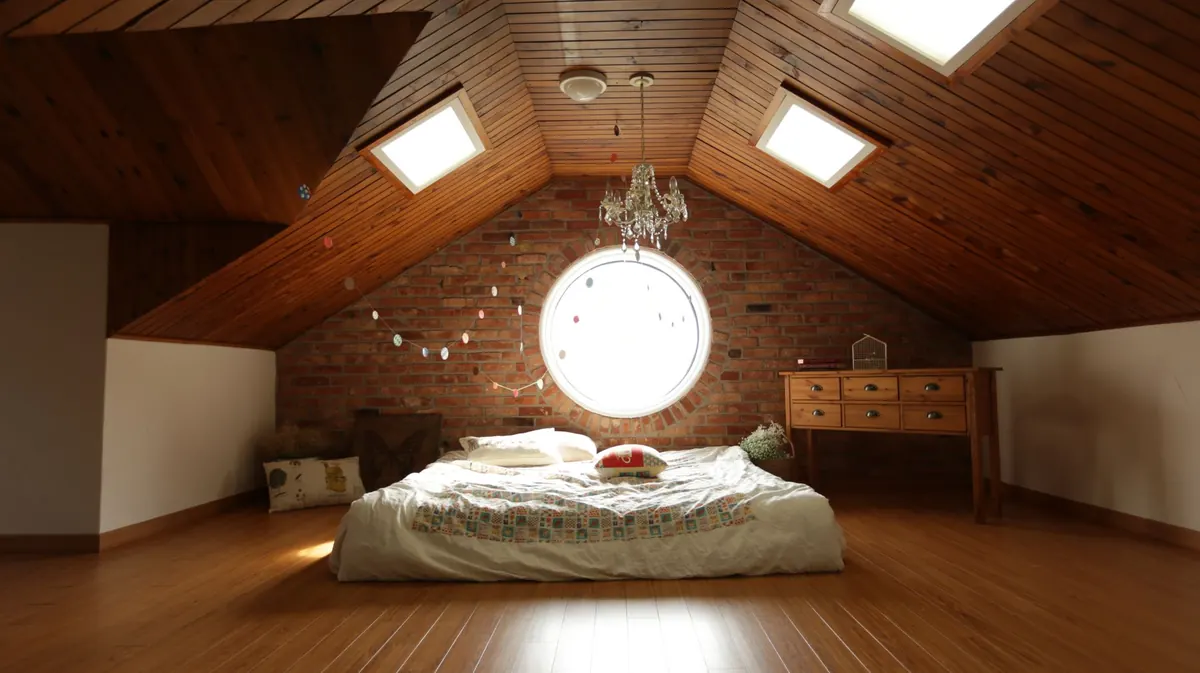
An attic ceiling changes the rules of lighting. On a flat ceiling you can put a fixture in the middle of the room and forget about it. Under a slope, that same fixture ends up behind your head, glares off a window at night, or hangs exactly at eye level. The compensation is that a pitched roof gives you surfaces most rooms don't have: long planes, a knee wall, a ridge. Those surfaces are excellent places to put light, provided you plan the room in the order it actually works — where you sit, where you walk, where you look.
Read the Ceiling Before You Choose a Fixture
Start with a tape measure and a pencil, not a catalogue. Note the height at the ridge, at the centre of the room, and at the point where the slope drops to knee height. Then mark a strip on your floor plan where a standing adult has comfortable clearance. In most converted attics this is a band running parallel to the ridge, and it is almost always narrower than the room feels when empty.
Next, draw the things that won't move: the chimney breast, any beams you want to keep visible, the position of the window, and the door swing. If the stair comes up through the middle of the floor, that changes everything, because the walkway from the stair to the window becomes the spine of the room and light should follow it.
Finally, decide whether the slope is a feature or a surface. Grazing light along a sloped plane reveals texture — beautiful on old beams and lime plaster, less flattering on a patched plasterboard ceiling. You don't have to decide this in the abstract. A cheap floor lamp aimed upward at the slope will tell you more in five minutes than an hour of browsing.
Build Three Layers Around the Slope
A single central light works in a boxy room because the ceiling is one even plane. Attic ceilings are not, so the aim is overlap: three layers, each doing a different job, each dimmable where possible.
- Ambient light — the general wash that lets you cross the room safely. On a slope, this usually means recessed spots along the flat strip near the ridge, or a track running parallel to it with heads angled slightly outward. Keep them off the lowest part of the ceiling, where they will simply be at head height.
- Wall light — the layer most attic rooms are missing. Sconces mounted on the knee wall, or on the vertical wall at the tall end, bounce light off the sloped plane and lift the whole room without a single hole in the ceiling.
- Task light — the reading lamp, the desk lamp, the light over the wardrobe. This is the layer that needs to be bright and precisely placed, and it is the one that fails most often when it's asked to do the ambient job as well.
- Accent (optional) — a small uplight or a picture light on the gable wall. Useful in a studio or a bedroom with a tall end wall that would otherwise go dark after sunset.
Two practical notes before you cut anything. In an insulated roof, a recessed downlight needs a housing rated for contact with insulation, and the air barrier around the opening has to stay intact; that's an electrician's job, not a Saturday experiment. And where the roof build-up is tight — common in conversions — surface-mounted fittings and tracks save you cutting deep holes into a shallow void.
Bedrooms: Soft Over the Bed, Bright at the Wardrobe
The mistake in attic bedrooms is a row of downlights straight down the middle. Lie on the bed and you're staring into them; sit up and your own shadow falls across the book.
Ceiling
Keep ceiling spots near the ridge but offset from the head of the bed, aimed slightly toward the foot or the walls. If the ridge is high enough to hang a pendant — check that it clears the tallest person walking past — a large, diffusing shade gives a softer ceiling than spots and takes less planning. If the ridge is low, skip the pendant entirely and let the walls do the work.
Walls
Sconces on the knee wall, mounted around shoulder height and pointing upward, wash the slope with indirect light. Choose shades that hide the bulb from the bed and put them on a dimmer. A second, brighter pair on the wardrobe wall makes dressing in winter bearable.
Bedside and storage
Attic bedrooms rarely have room for two generous nightstands. Swing-arm wall lights solve this: they take no table space, they put the beam on the page rather than across the room, and each one can be switched independently. For the wardrobe, light the front of the doors, not the inside of the room — a small recessed spot or a strip above the door line prevents you standing in your own shadow while you look for a shirt.
Warm light, around 2700–3000K, suits this room. Look for a colour rendering index of 90 or above if you care about how clothing and bedding actually look.
Studios and Desks: Send the Light Down, Not Across
Desks in attic rooms usually end up in one of two places: pushed against the knee wall under the low side, or facing the gable window. Both work, but they need different light.
Along the knee wall, an adjustable task lamp clamped or wall-mounted at the desk, coming over your shoulder from the side opposite your writing hand, gives you even light on paper without shadow. Add a track on the ridge above with one head angled at the desk and one at the wall behind it — that second head is what stops the desk looking like a bright island in a dark room.
Facing a window, resist the temptation to hang a fixture directly above the monitor. You'll see it reflected in the screen all evening. Light the wall behind the monitor instead, and put a small lamp to one side for paperwork. In either layout, split the circuits: one switch for the ambient layer, one for the task layer. When you're concentrating you want the ceiling quiet; when you're tidying up you want everything on.
If the room doubles as a guest room, keep the desk lamp on a plug-in fitting or a switched socket so it doesn't dictate the rest of the wiring.
Reading Areas: Let the Low Side Do the Work
The low side of an attic is the natural place to read. The ceiling comes down to meet you, the space feels enclosed, and a chair tucked under the slope needs very little to feel finished. What it needs is light from behind your shoulder, at a height that puts the page in the beam and the bulb out of your eyeline.
A floor lamp beside the chair, with the shade at roughly eye level when seated, is the simplest answer and the easiest to test before you commit. Where floor space is scarce, a swing-arm or a wall sconce on the knee wall does the same job. Avoid hanging anything from the lowest part of the slope — you'll duck every time you stand up, and the light will be in front of your face rather than on the page.
One caution about grazing the slope above a reading chair: it looks wonderful, but the reflected light can be surprisingly bright at the top of your vision. Dim it, or use it as background only, paired with a focused lamp. The contrast between a bright page and a dim room is tiring; the contrast between a bright page and a gently lit slope is comfortable.
A Walkthrough Before You Order
Before you buy anything, spend one evening in the room with a floor lamp, a plug-in wall light and a book. Move them around. Sit where you'll sit, lie where you'll lie, and look at what you actually see.
- Can you reach a switch from the bed without getting up, and is there a light on the landing or stair that lets you arrive safely?
- Does any fitting sit within reach of a raised arm, a wardrobe door or a curtain?
- Are the dimmer and the LED driver compatible? Ask before you buy; not all of them are.
- Is every transformer and driver accessible for replacement without opening the ceiling?
- At night, does a window turn into a black mirror with a lamp reflected in it? Move the lamp, or add a blind.
Anything that involves cutting into the roof — recessed fittings, new circuits, insulation contact — should go to a qualified electrician, and building rules for loft conversions vary by country and region, so check locally rather than relying on a forum. The planning, though, is yours. Get the layers right on paper and the sloped ceiling stops being an obstacle and starts being the reason the room feels good.
Photo: Pixabay / Pexels